
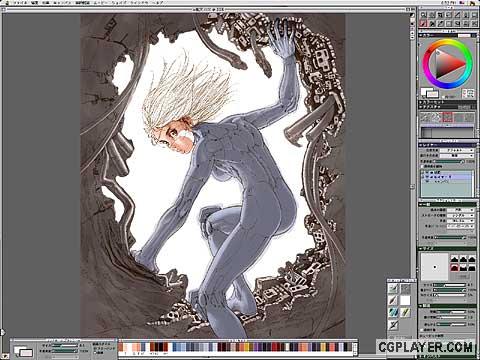
GUNNM Last Order volume 2.
Equipments:
Power Mac G4 800Mhz Dual / Mac OS9.2.1 / memory 1.5GB
Scanner EPSON ES-8000 / Software Photoshop6.0、Painter6.0
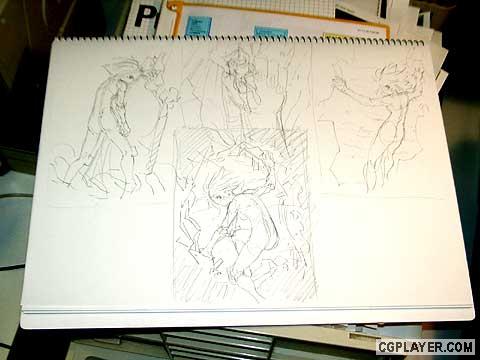
As is always, it's so hard to decide the motif.
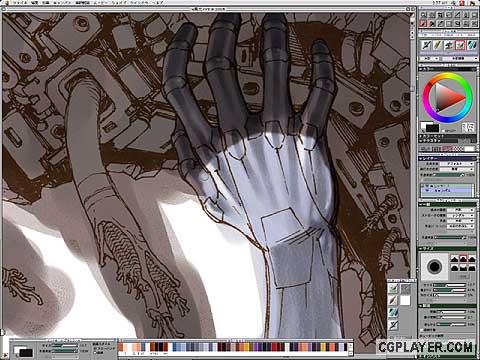
This time, the motif is Gally's back. Finally, I decided the center plan.
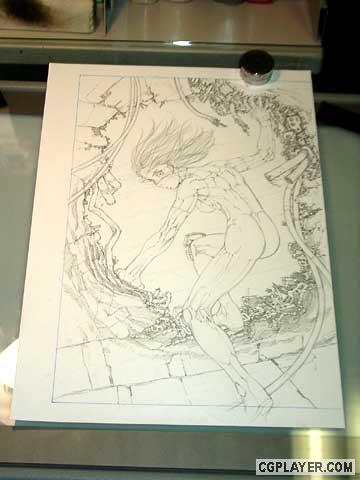
It is a rough sketch in Kent paper.
I didn't draw clouds here, because I planned to draw it without main lines. Color illustrations require correct drawing, so I
drew lines very carefully

I drew lines with pen in the rough sketch and erased pencil lines.
hair and shadows in color illustrations are different from monochrome pictures, but othets are not so different. When I was
using acrylic colors, I felt strong tension because it was hard to retouch. But now using digital prepress that is easy to
retouch, I can relax
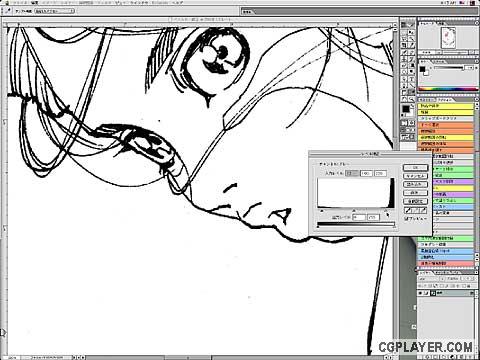
I scanned the rough sketch in gray scale mode of 300dpi.
On Photoshop, I increased contrast and erased dusts. Careful works were needed to avoid troubles later.
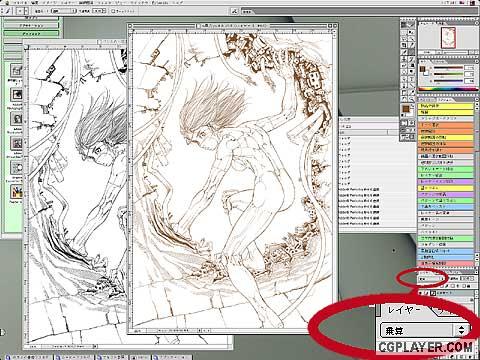
I copied that image into a new image file of 2649 * 3925 dots and united layers.
I named it "pen sketch" and saved. I copied it and changed color mode to RGB, and cleared background layer's image.
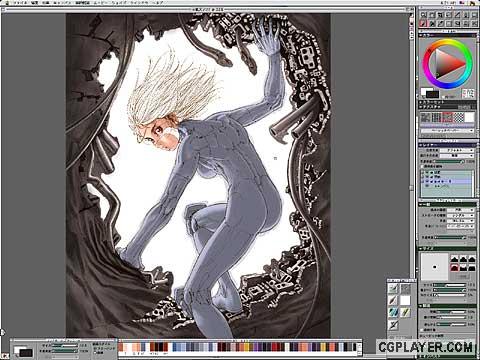
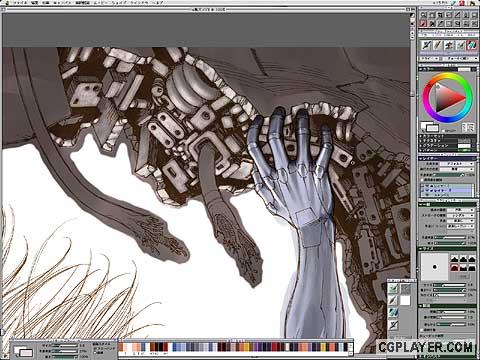
And I made a new layer, and selected lines and painted them in right brown. Brown lines are on the transparent layer and I
changed layer composition mode to multiple(See red circle).
I named this file "w-airhole.psd" and saved. "w" means working file. I also saved selected area in Photoshop files named
"mask". And I finished preparation and closed Photoshop.
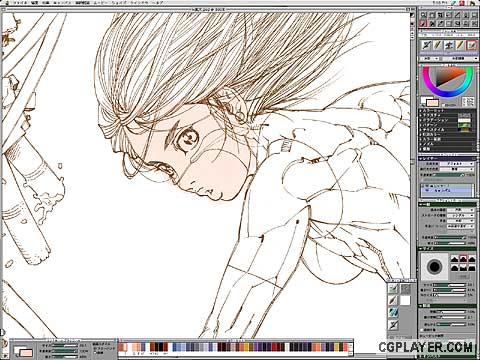
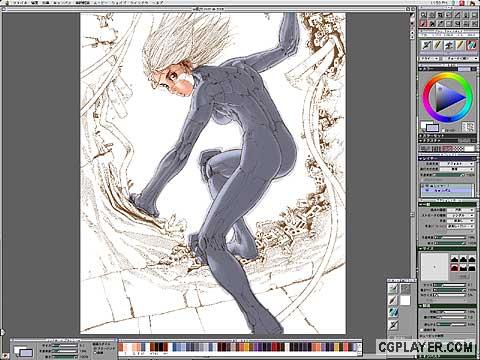
I loaded "w-aihole.psd" into Painter and started to paint pale skin color using water brush.
Water brush colors mix only before "dry". I painted deep colors without regard for overflows.
On Painter, before "dry" files must be saved as RIFF format. I don't use compression because graduation is lost. I saved
files frequently to prepare for troubles. I added pink on her face, and darkbrown to her eyes, white-orage to highlights.
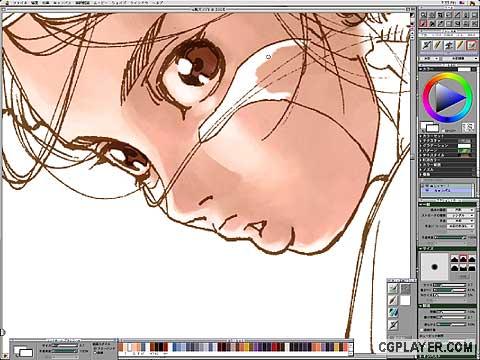
Face painting was almost completed and I erased overflows using water brush eraser.
I erased all overflows. It is not time to "dry" yet.
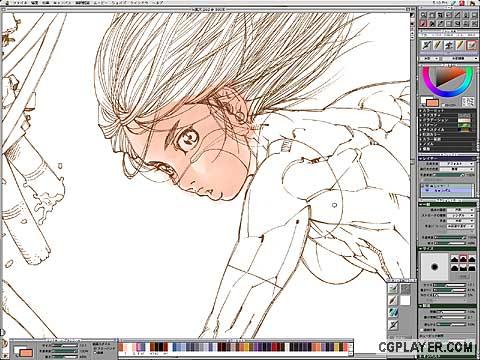
To increase contrast, I added dark-brown.
I did it carefully because results of mixture of water colors are not so foreseeable.
In this stage, I did "dry".
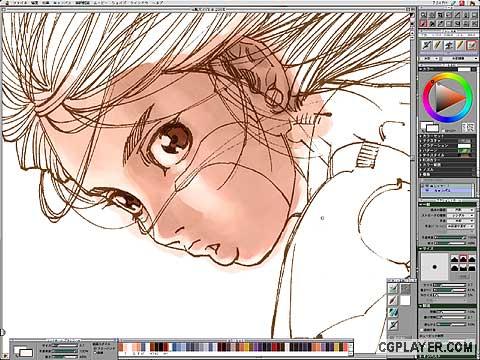
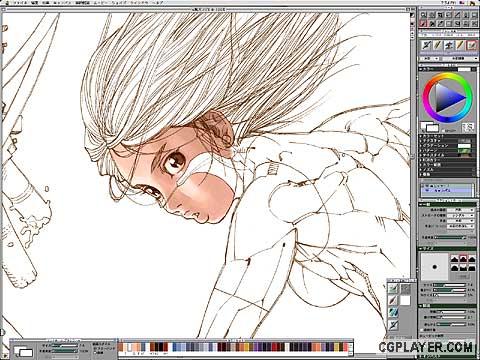
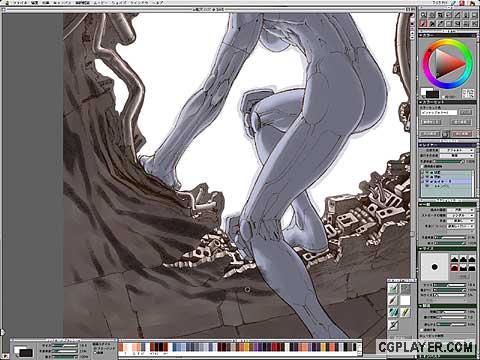
After "dry", water colors don't mix, so I have to be careful. I started to paint her body.
I painted some bluish gray colors.
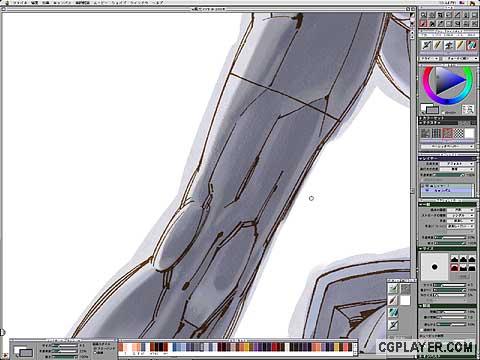
In backlight, body colors are darker than her face.
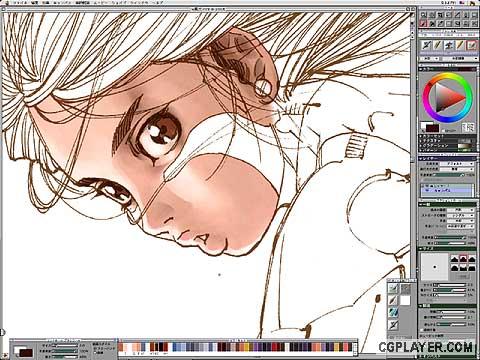
After some painting with water color brushes I did "dry", I added dark colors using drymedia and choke(slim) in
fill+flat+texture mode.
I finished painting of her body.
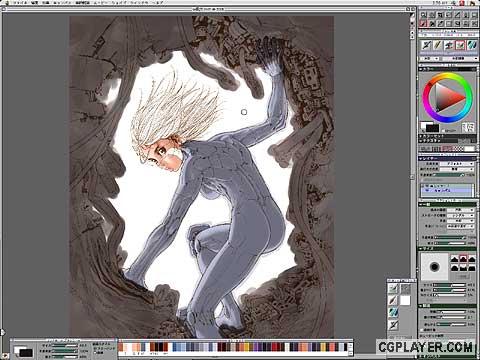
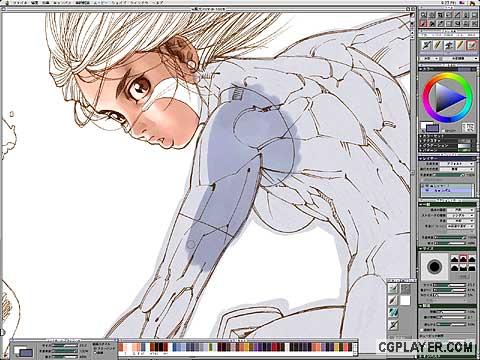
I started to paint background using water brush of dark brown. I don't mind unevenness here.
Before "dry", I erased colors over her body excepting fingerchips to fit in the background.
After "dry", I made a new layer and painted warm gray on the bright part of the background using drymedia and
choke(slim).
I erased overflows and made under canvas's color appear. It needed patience.
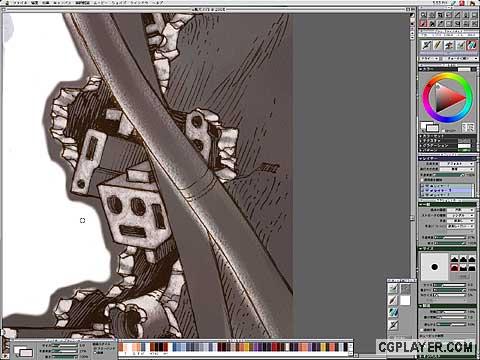
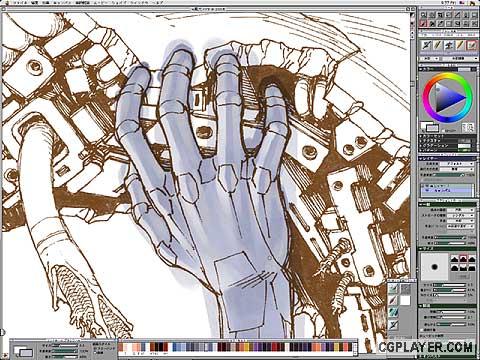
Complicated tubes are difficult to paint without overflows. So I made a new layer one by one temporaly, and painted there.
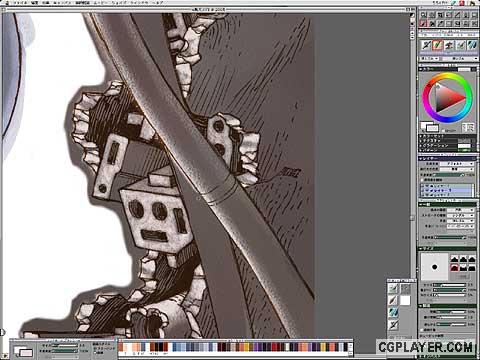
I erased overflows and united with under layer. And I repeated this process.
Bright part of the background is almost painted. It is on another layer, so easy to retouch.
I named a bright color layer "bright-part" and made a new layer under it and painted dark colors.