Step 16
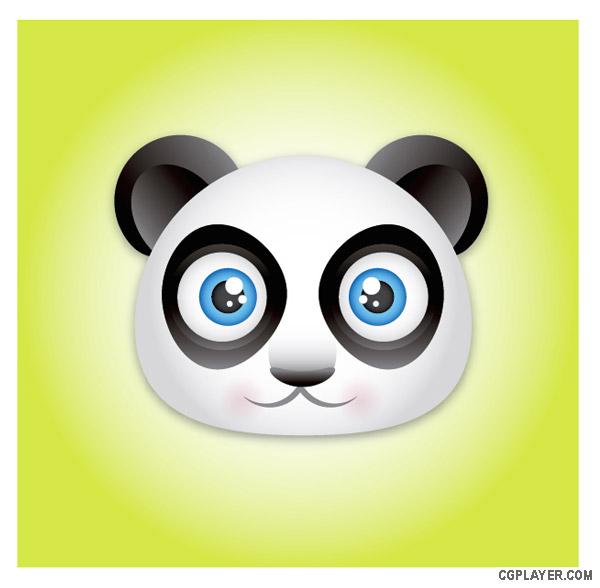
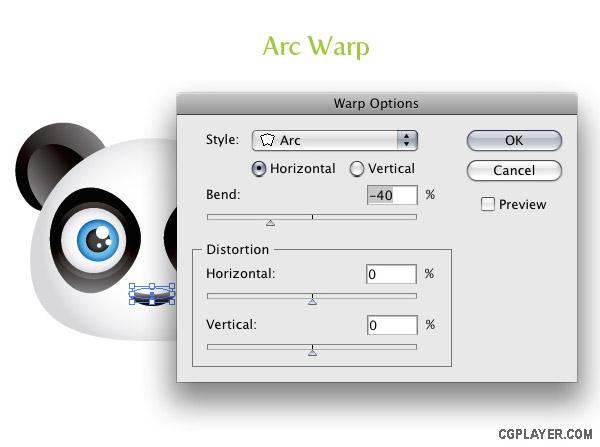
With the new nose ellipse selected, go Effect > Warp > Arc. In the Warp dialog change the Bend to -40% and press OK.
Step 17
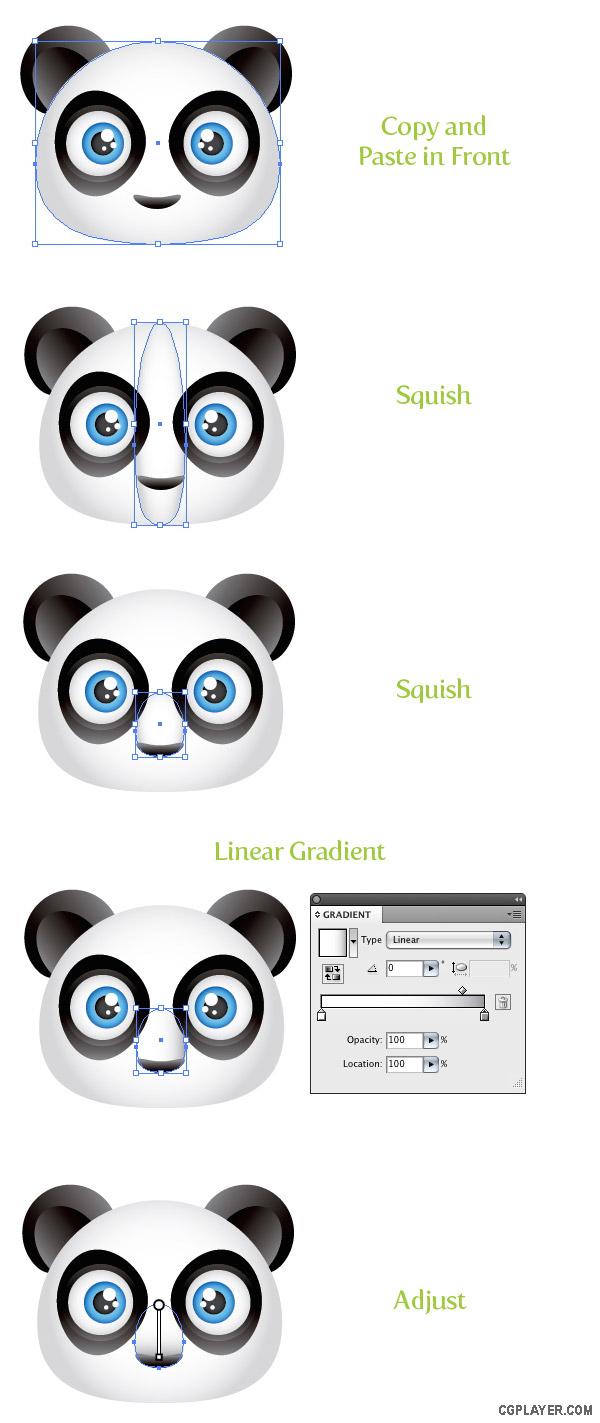
Copy (Command + C) the main white panda shape and Paste in Front (Command + F). Squish the copied shape horizontally to the width of the nose shape. Next squish the copy vertically. Change the gradient of the copy to a linear gradient and make the last Color Stop on the slider and darker grey. Next, adjust the gradient so the lighter part of the gradient is at the top of the shape.
Step 18
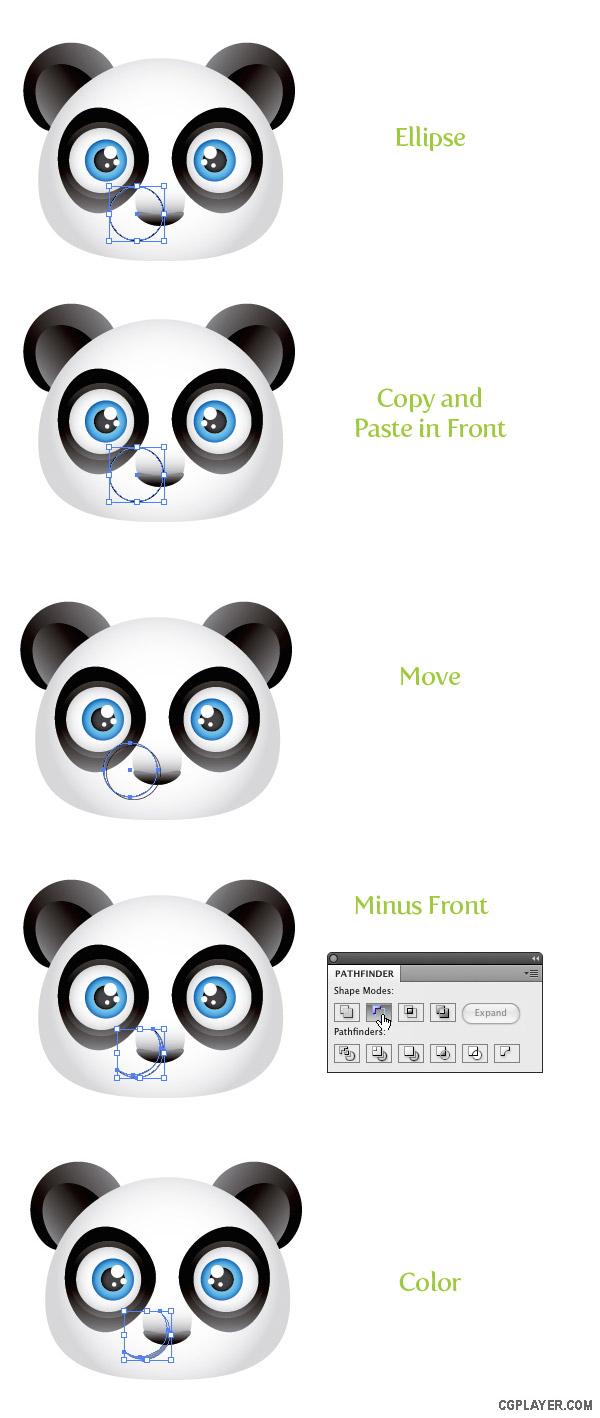
Draw an ellipse with the right anchor point roughly in the middle of the nose shape. Copy (Command + C) the ellipse and Paste in Front(Command + F). Move the copy up and to the left slightly. Select both ellipses and press the Minus Front button in the Pathfinder panel and change the color of the shape to a grey color.
Step 19
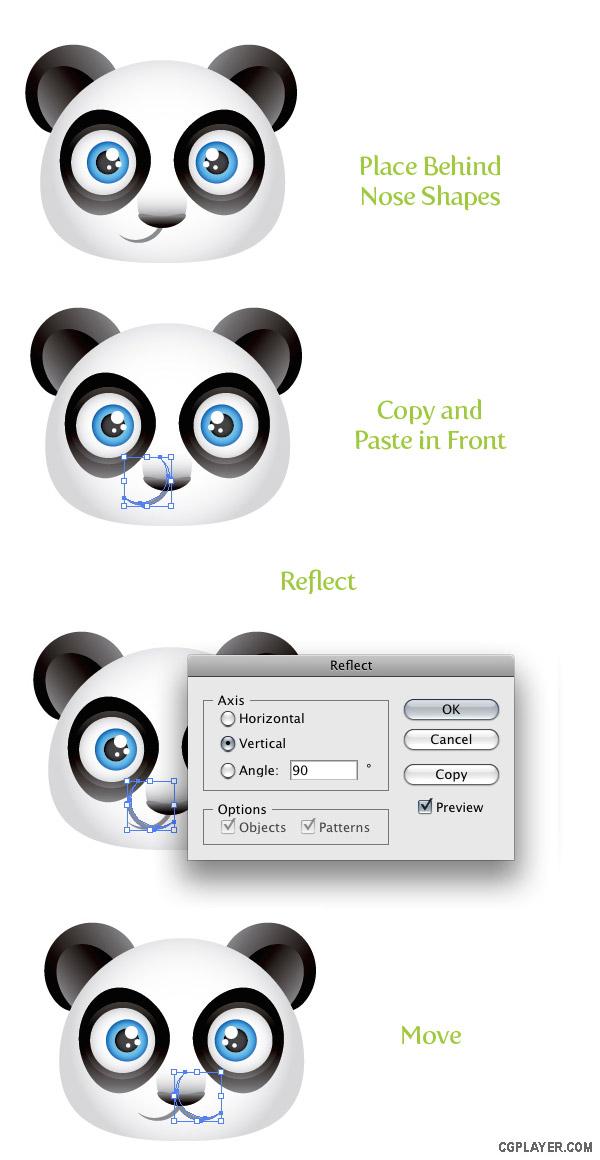
Select the mouth shape and go Object > Arrange > Send Backward (Command + [). Do this a couple of times until the mouth shape is behind both nose shapes. Next, Copy (Command + C) the mouth shape and Paste in Front (Command + F). With the mouth shape selected, go Object > Transform > Reflect, select the Vertical radial button, and press OK. Move the copied shape to the right, creating the other side of the mouth.
Step 20
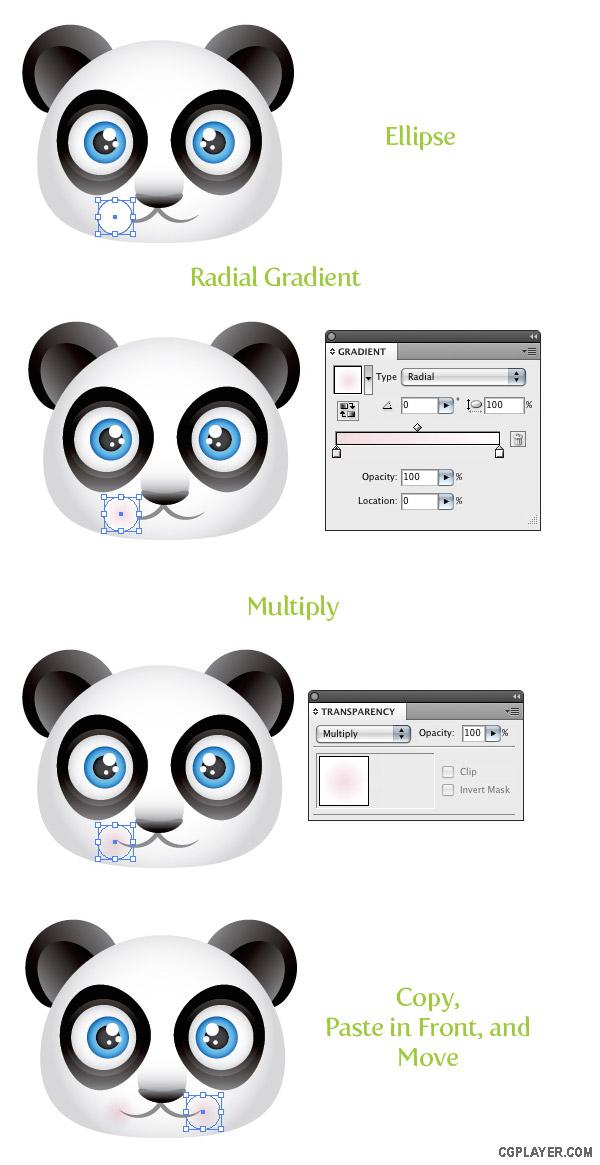
Create an ellipse close to the end of the left mouth shape. Fill the ellipse with a radial gradient, with the first Color Stop a light pink color and the second Color Stop white. Next, set the Blending Mode to Multiply from the Transparency panel. Copy (Command + C) the pink ellipse, Paste in Front (Command + F), and move to the other side of the mouth.
Step 21
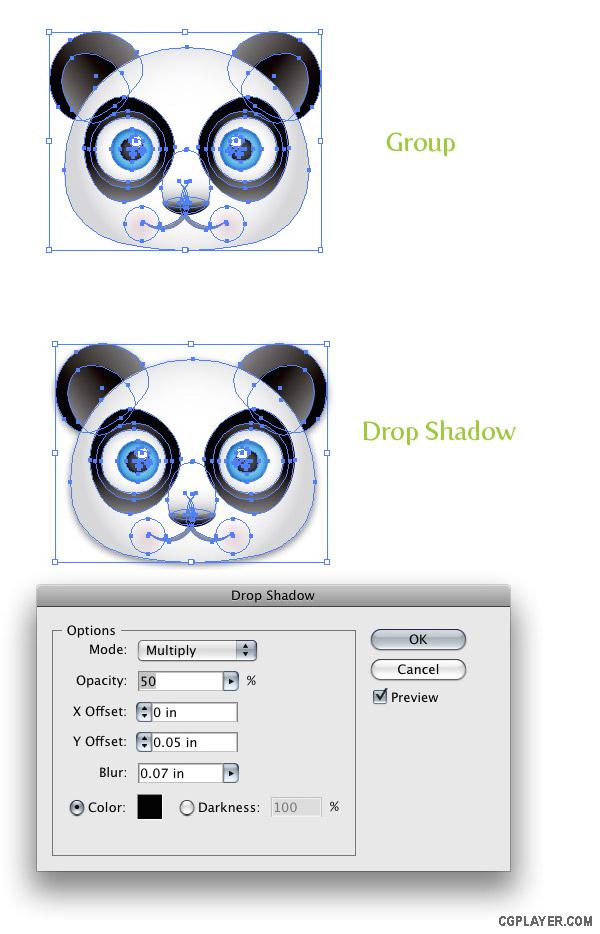
Select the all the shapes in the panda face and go Object > Group. With the group selected, go Effect > Stylize > Drop Shadow. With the Drop Shadow dialog open, change the Opacity to 50, the X Offset to 0, the Y Offset to .05 in, the Blur to .07 in, and press OK.
Step 22
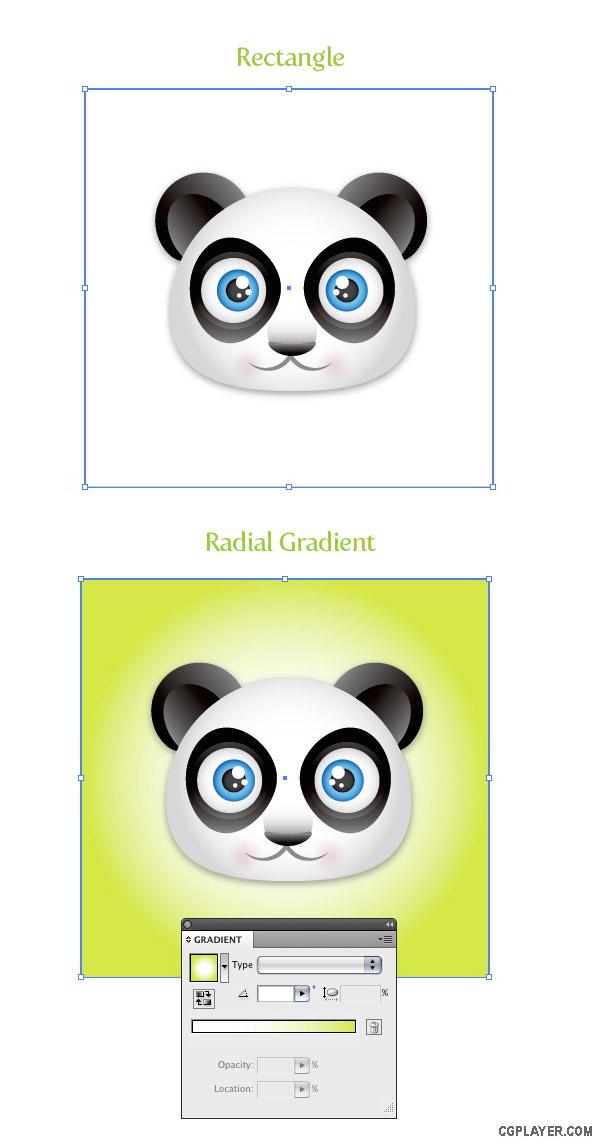
Create a rectangle bigger than the panda face and fill it with a radial gradient. Make the first Color Stop white, and choose a different color for the second Color Stop.
Final Image
All done! Wasn’t that easy? This tutorial is a good example of how some simple shapes can create a compelling illustration. Moreover, you can easily apply these techniques to other illustrations, logos, and projects!
